Classroom › Web Links
Creating Web Links
Web links are managed in the Web links menu.
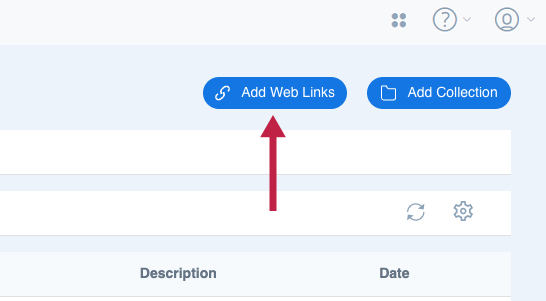
To create a new web link, go to that menu and use the Add Web Links button at the top right of your screen.
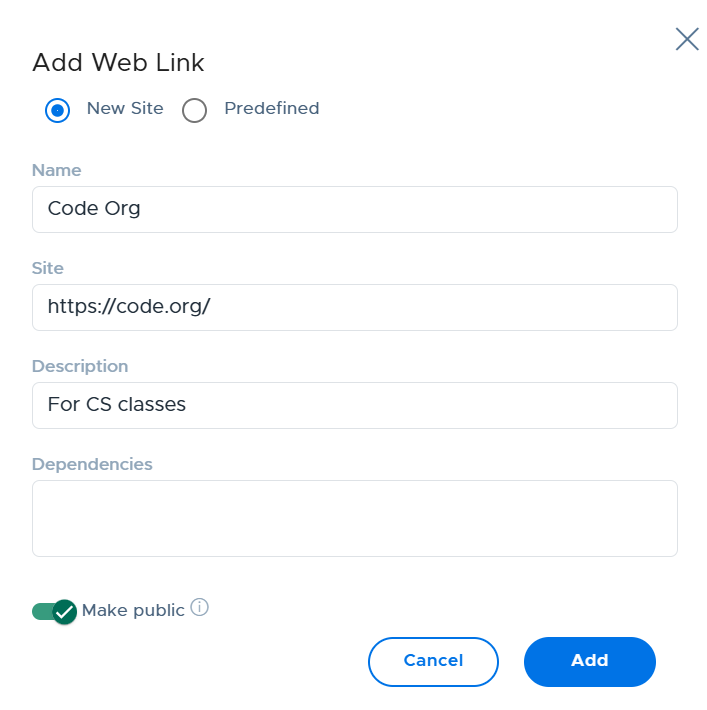
In the sidebar that appears, select the New Site checkbox. Selecting the Predefined checkbox will let you edit information for links that are already defined in the system.
Enter the following information:
| Field | Description |
|---|---|
| Name | The name of the site, or your own descriptive title. |
| Site | The URL of the web link. |
| Description | A short description (optional). |
| Dependencies | A site on another domain that's needed for the web link to work properly, usually because the site forwards there — for example, a login redirect, or a separate domain the app itself runs on after login. |
| Make public | If permission is enabled for your role, you'll have the option to turn on the Make public toggle which allows other users to view and use your web link. |
If you are creating a web link to a common site, it's worth it to check out the list of predefined web links. These web links are templates that are set up with all the necessary dependencies, in case the site pulls content from other sources. For more information on this topic, see the Predefined Web Links article.