Classroom › Classes
Detail View
The Detail View provides a large image of the student screen and a list of all open tabs. Detail View is accessed by clicking on the student's screen in thumbnail view.
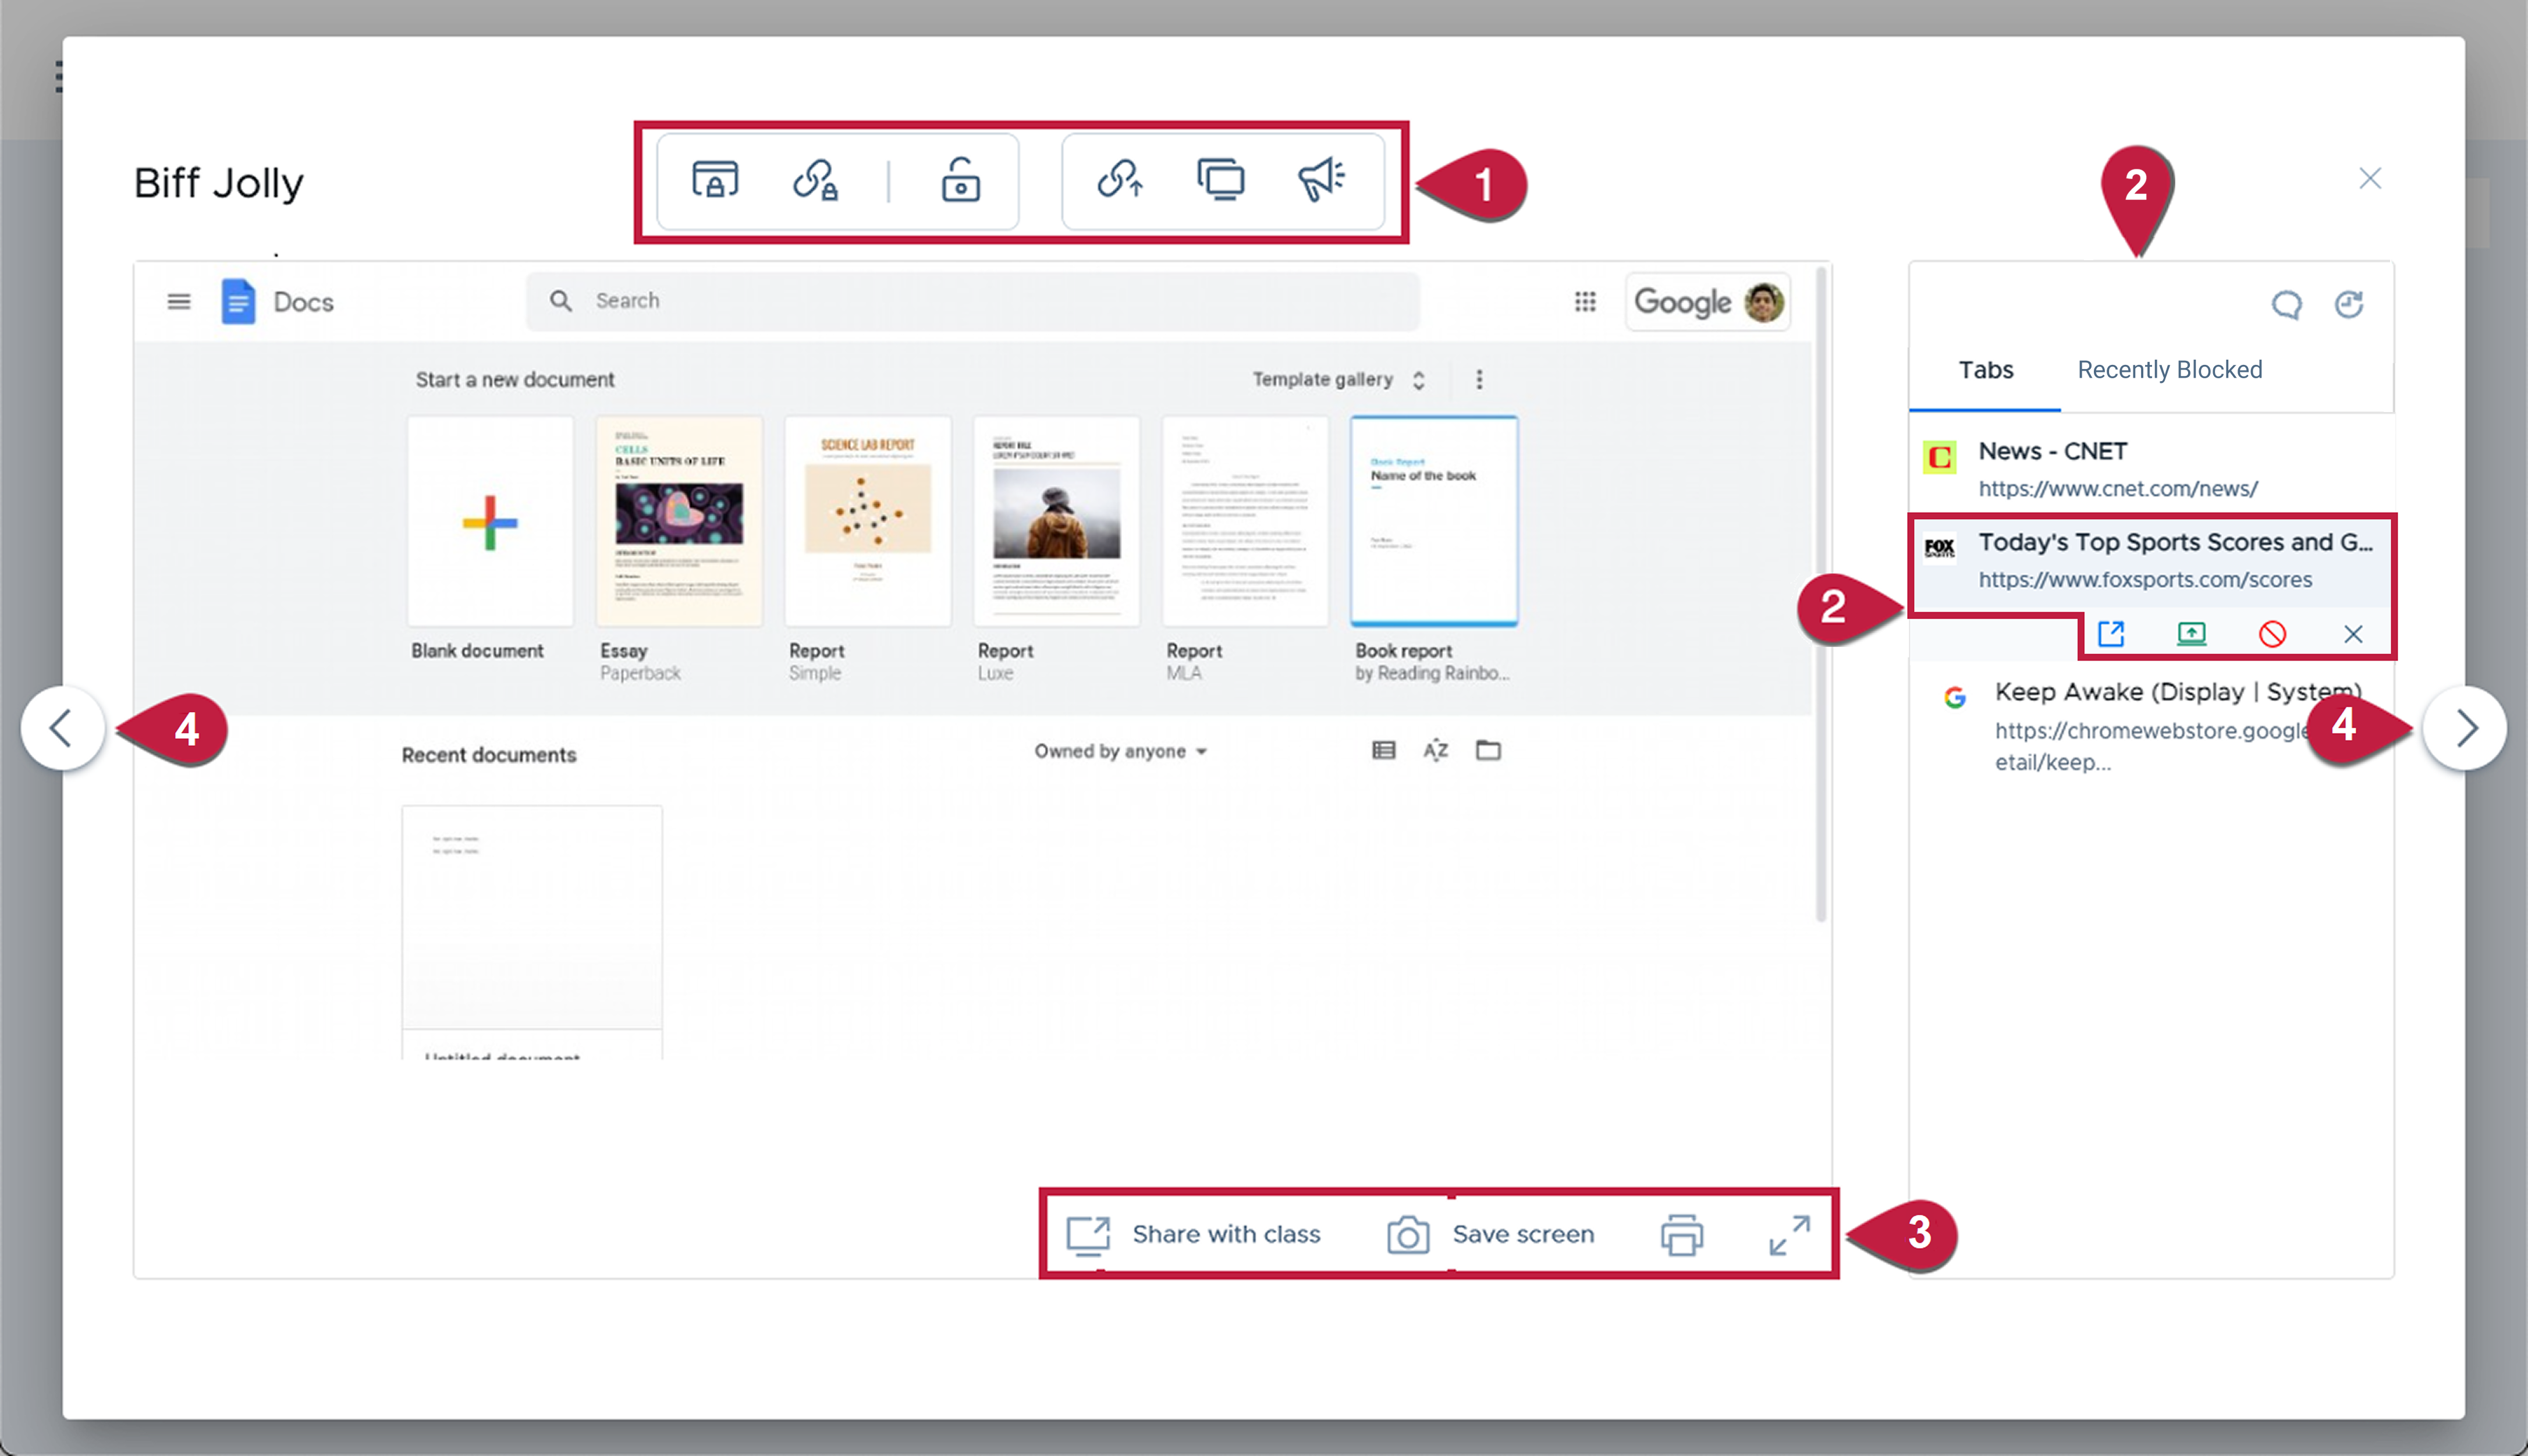
The controls accessible in detail view are divided up into four areas. See the above screenshot for reference.
Section 1
Classroom management functions for Screen Lock, Site Lock, Push URL, Share your Screen, Announce, and Release are available from this area and will only be applied to this student.
Section 2
Tabs
In addition to a larger screen view, Detail View displays a list of all the open tabs on the student device in the right-hand column. Click on any individual tab reveals four options:
Visit the site on your device
Switch the student to that tab
Block the site (adding the entire domain to the currently active/temporary access plan)
Close the tab for the student.
You can also make any of the open tabs the active tab on the student device by simply dragging and dropping it to the top of the list.
Recently Blocked
Next to Tabs is "Recently Blocked" list that displays all the recently blocked sites for that student.
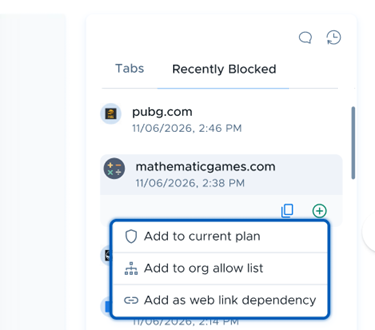
As many sites forward students through other domains, and when one of those isn't allowed, the main site stays blocked. These unwanted blocks are now easy to spot and allow. Clicking the "Allow Site" button next to a domain lets you add it to the current allow-only access plan to immediately unblock it.
Adding the domain as a Web Link dependency is also an option, and only admins can allow it globally by adding it to the Org Allow List.
These options are also available for blocked sites in session history and in Users > Students > Sites.
Note: The "Add to current plan" option won't be visible if the student isn’t on an allow-only access plan, and a teacher can only add it to the current plan if they are owner of the access plan.
Chat and History
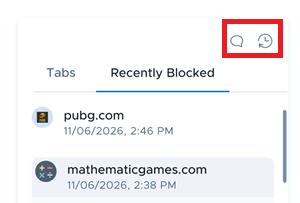
In addition, there are icons above the tabs to initiate chat as well as view the student's history.
Section 3
Section 3 contains the following functions.
The Screen with class icon allows you to share the student's screen to the other students in the class.
The Camera icon saves a screenshot of the student's current screen.
The Print button allows the current screen to be printed.
The double arrow expand button opens an even larger screen view.
If a student has their hand raised, the hand raise can be cleared from this view by clicking the green hand icon that appears in the bottom right corner of the screen image.
Section 4
Use the arrows on either side of the Detail View popup to navigate to the next or previous student.
The Close button in the upper right corner returns to the class thumbnail view.