Aware › Cases
Managing contact availability for different OUs
Once you are done setting up the contacts, navigate to School Contact, select your school, and go to the Org. units coverage tab to see a visualization of the coverage you have for each OU under your school and make further changes accordingly.
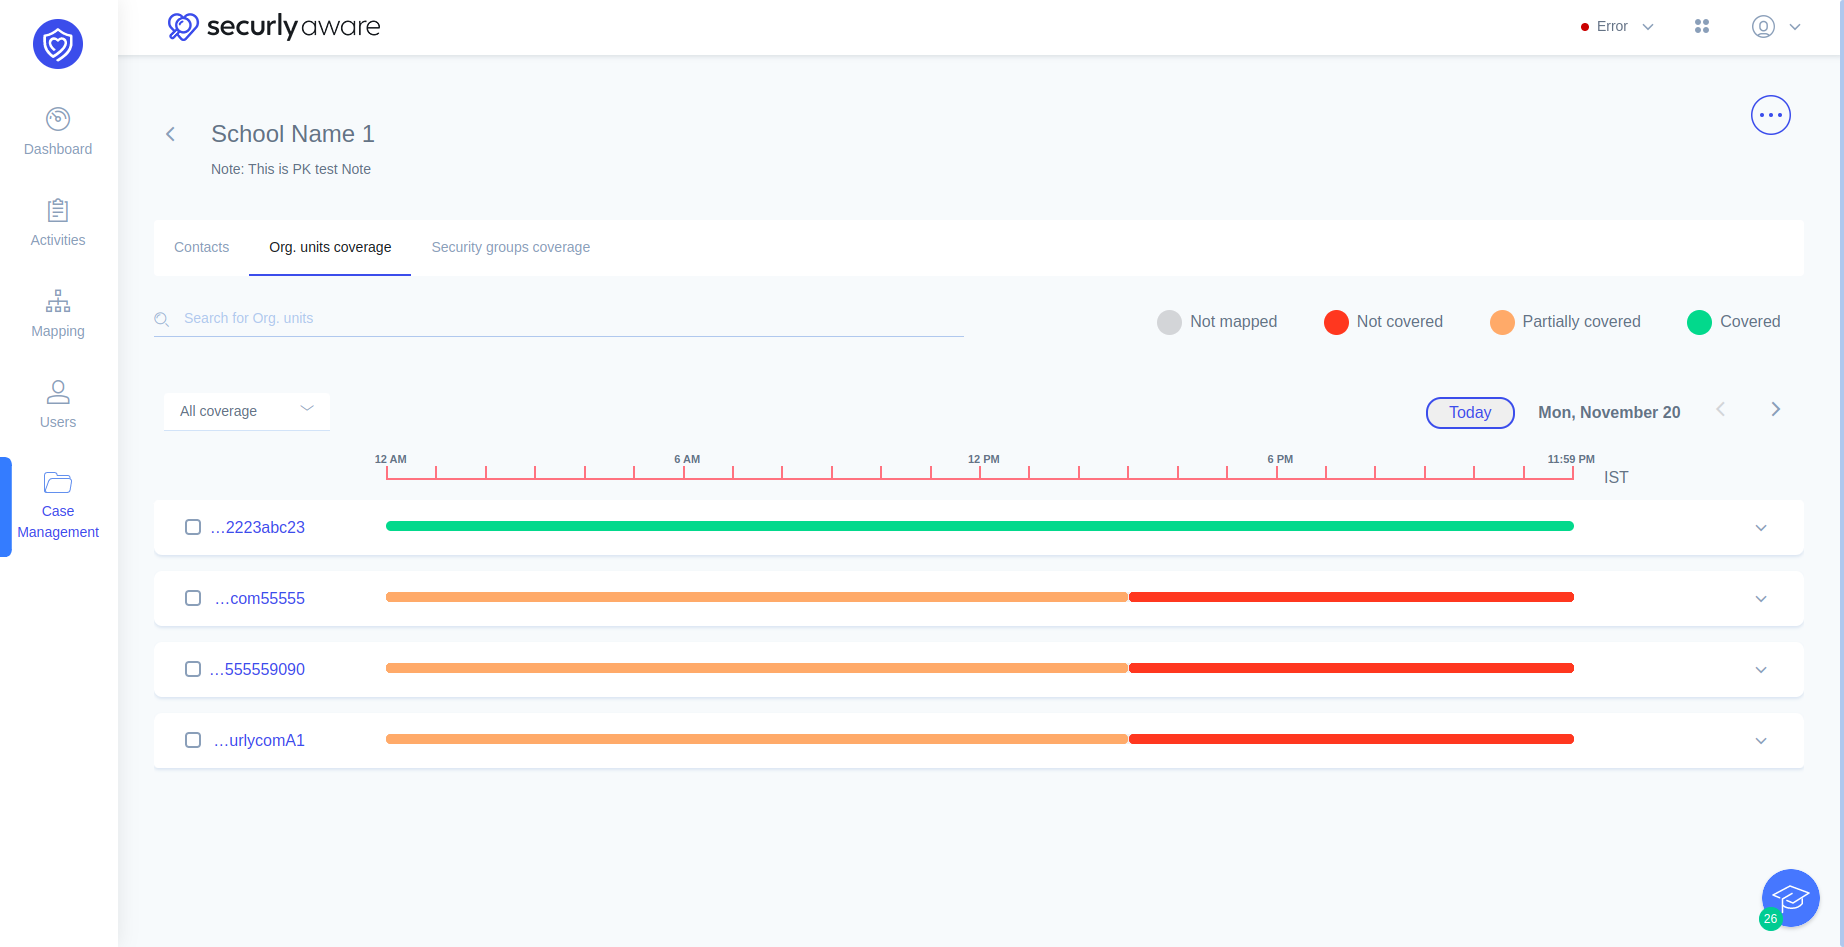
- Green means that OU is fully covered (a contact is defined for all alert categories and risk assessment levels) for that period.
- Orange means that OU has partial coverage (one or more alert categories of risk assessment levels are not covered)
- Red indicates no coverage.
Navigating the OU coverage tab
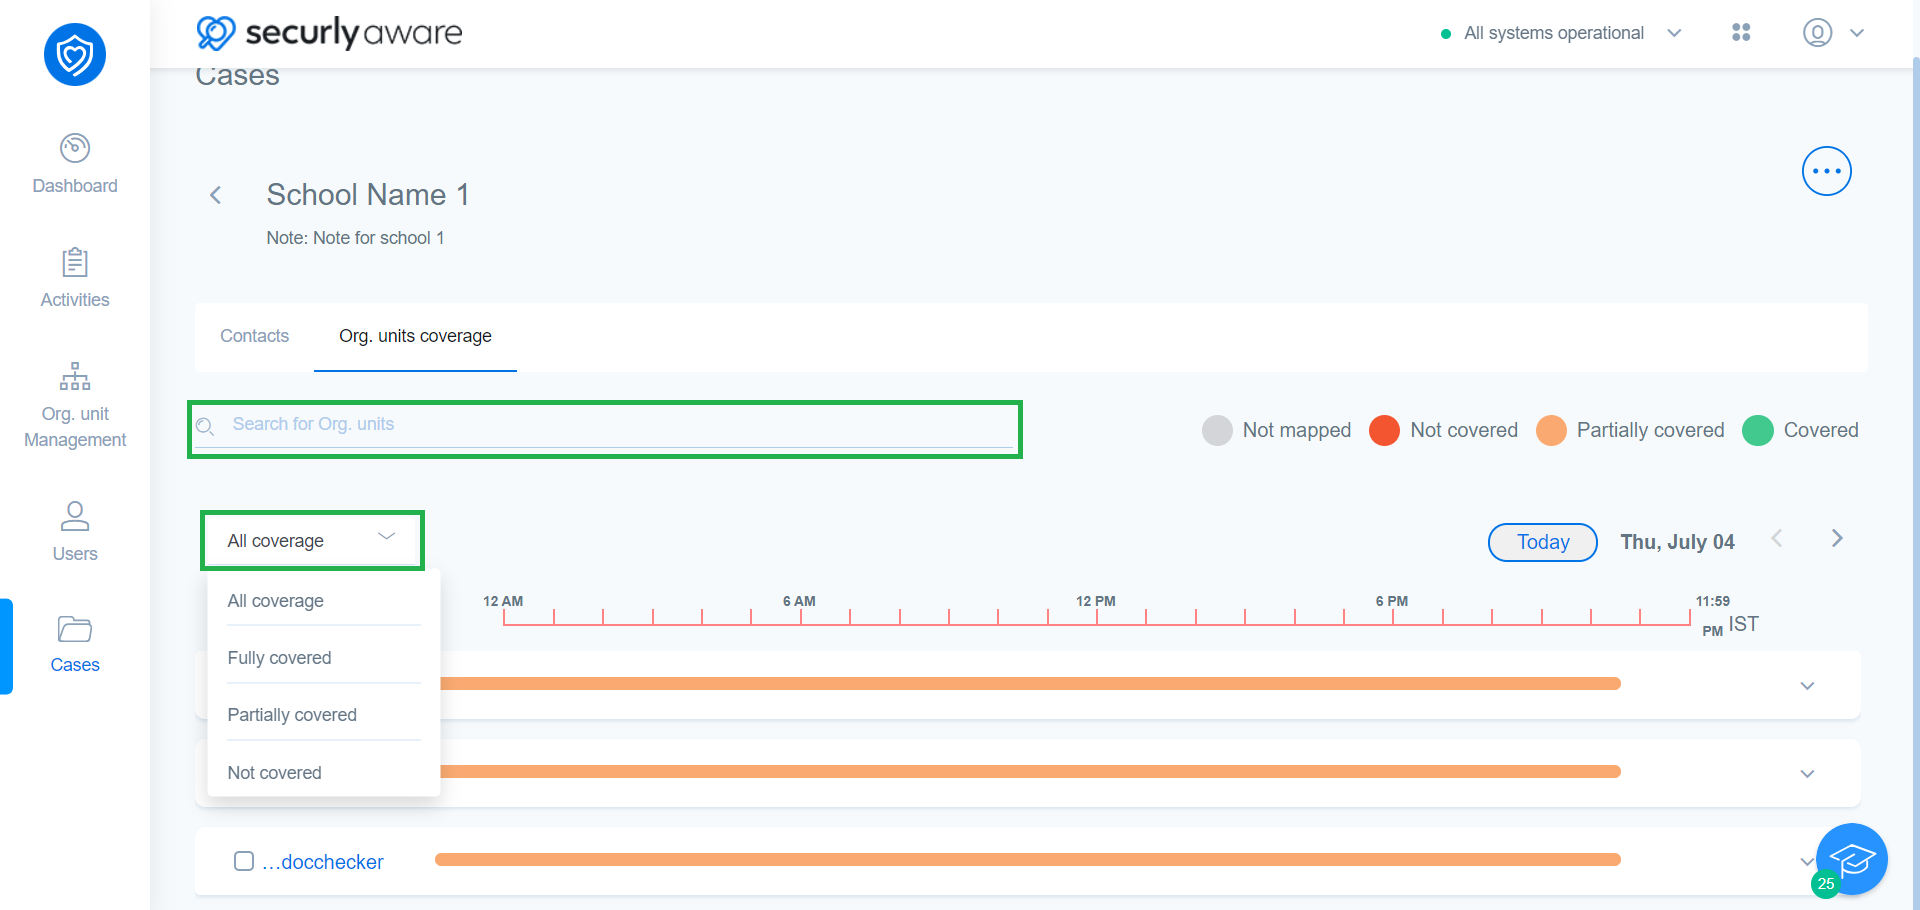
Search for any org. units through the search bar or using the filter option.
Click on any desired OU to reveal a drop-down window that reveals the coverage of each risk category with contact information and risk degree.
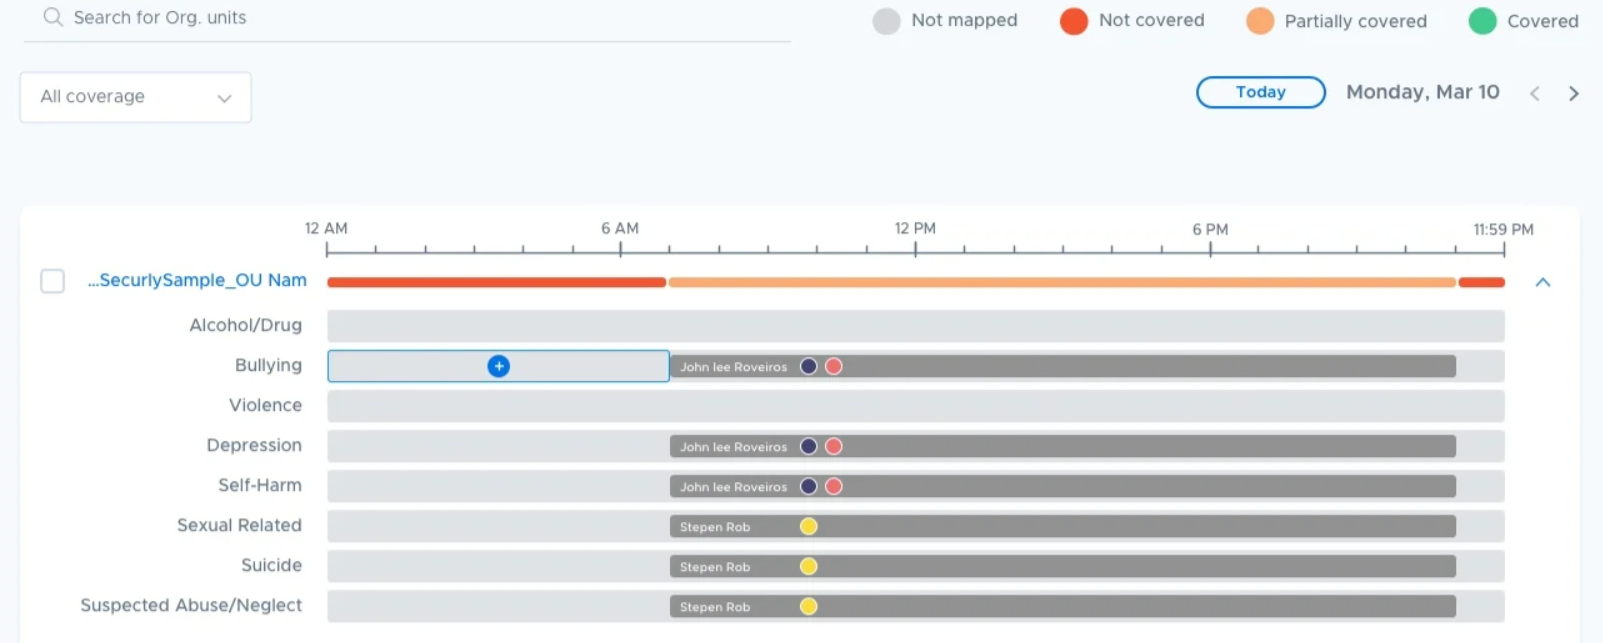
In this view, you can:
- Click on the coverage band to edit the availability.
- Drag the coverage band from either side to increase or decrease the person’s coverage.
- Click on an empty area of the band to open a drawer for contact selection.
- Bulk mapping contacts for coverage across multiple OUs
- Select multiple OUs to reveal the Map contact button.
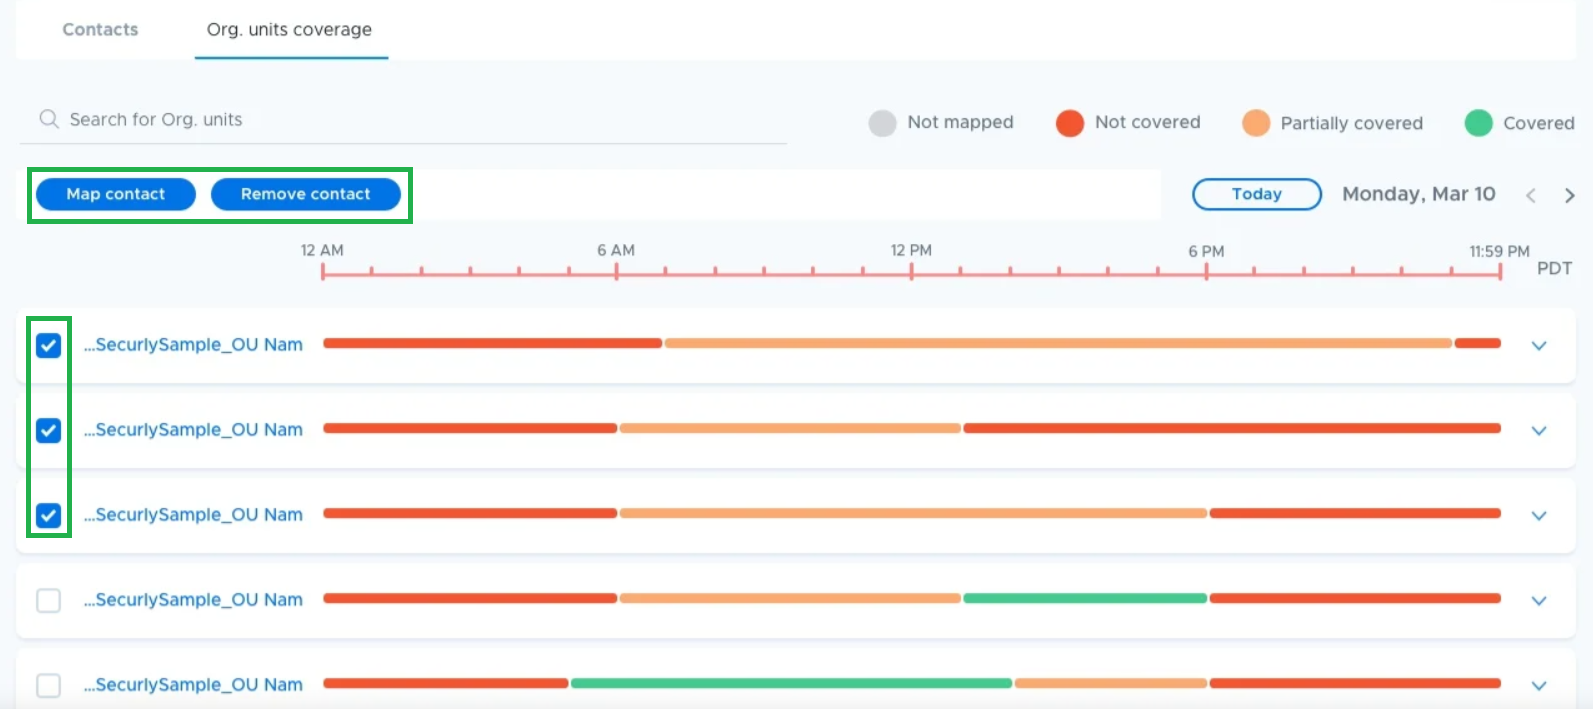
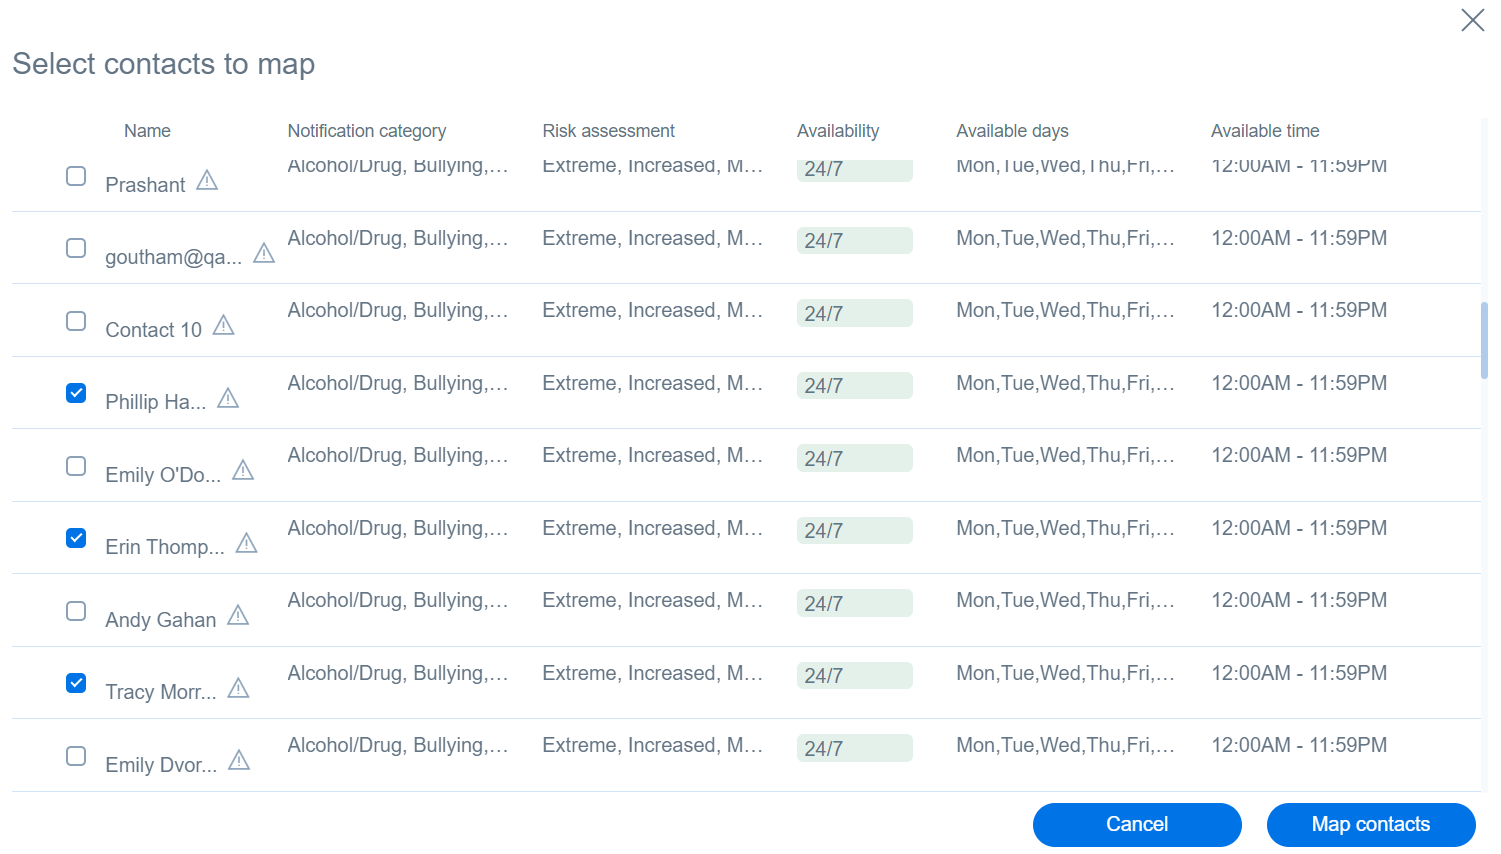
Clicking on the Map contact button will open up a contact list with availability details. Select the required contacts and click on the Map contacts button at the bottom right corner.